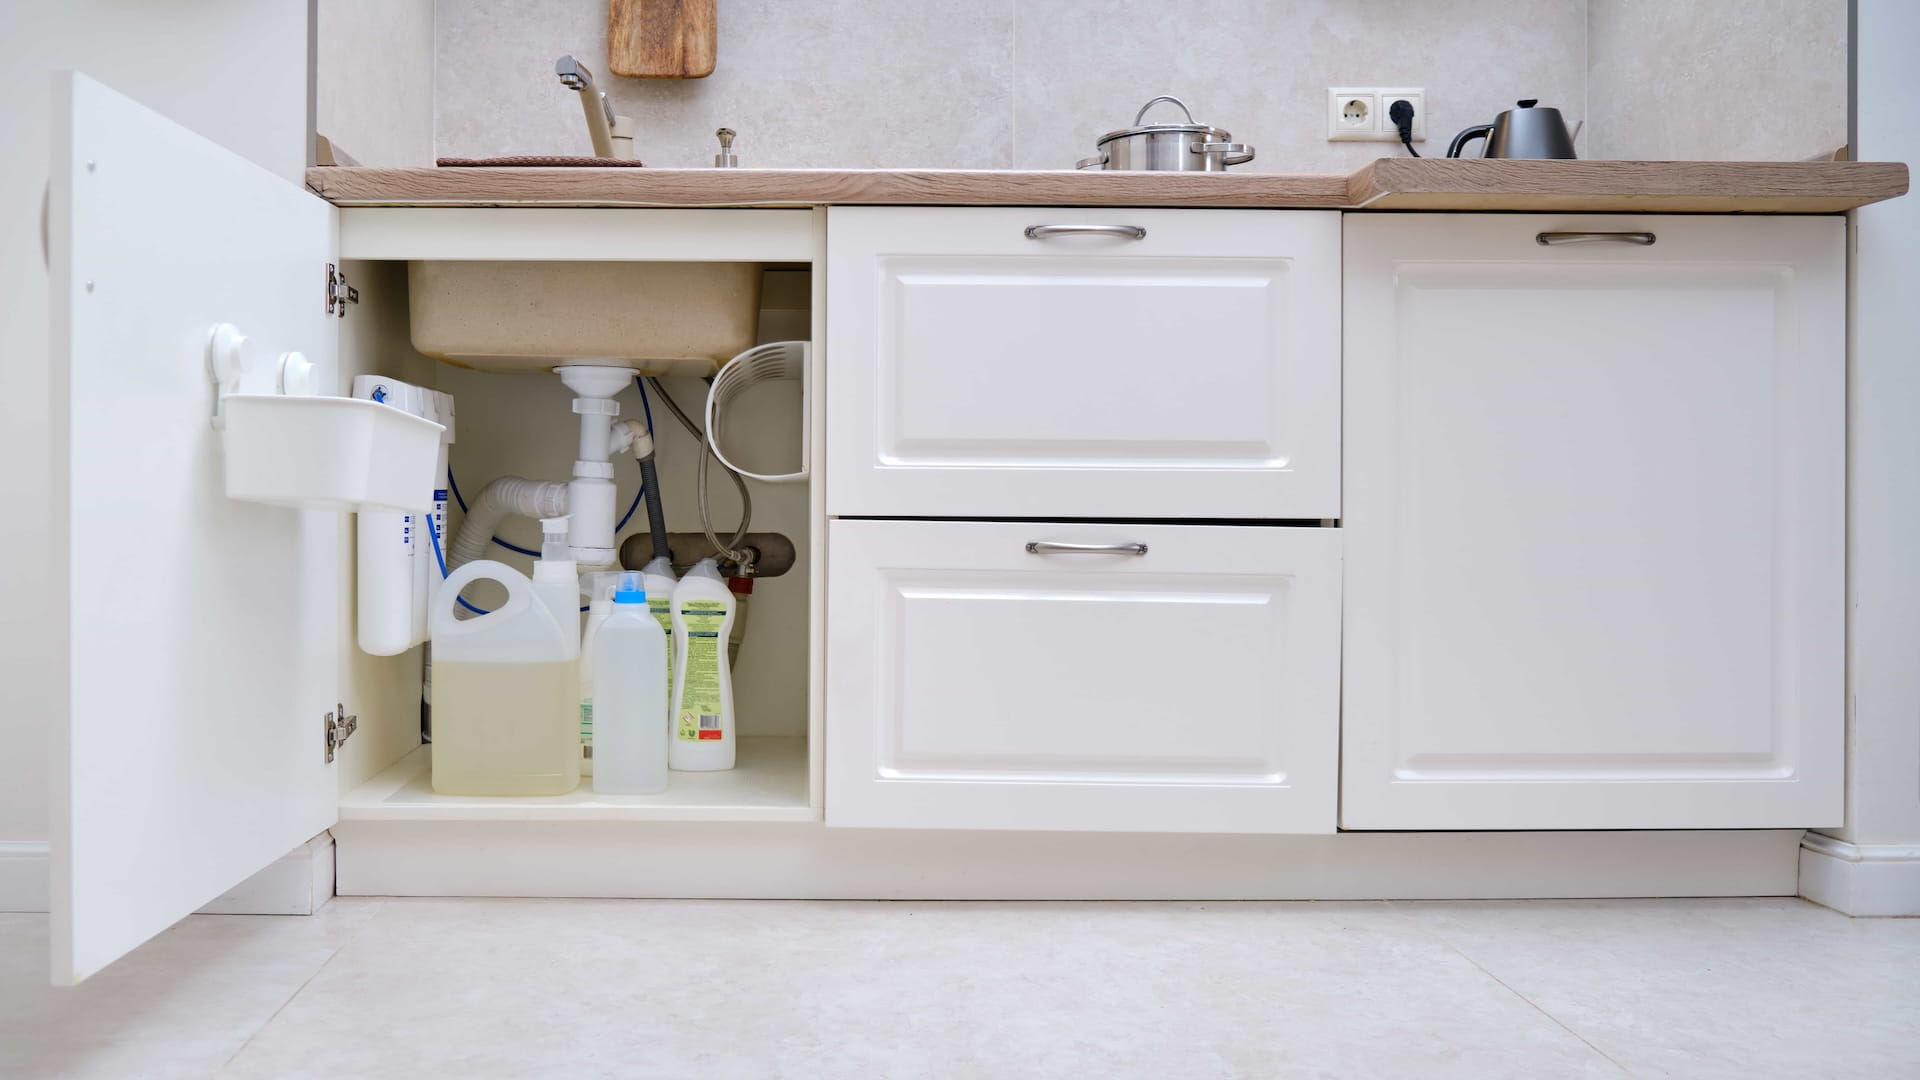
For most homeowners, the area beneath the kitchen sink is a high-traffic storage zone. It is often a chaotic "Under-Sink Tetris" of cleaning supplies, trash bins, and bulky plumbing. When considering a high-quality water filtration system, the immediate concern might be the logistics of the cabinet: Can a multi-stage system actually fit in this crowded space?
The answer is a definitive yes. While standard RO system dimensions under sink may look intimidating on paper, strategic planning and an understanding of the components allow even the most compact kitchens to accommodate a professional 5-stage system. Whether you are dealing with an apartment kitchenette or a luxury kitchen with complex plumbing, you can enjoy purified water without sacrificing your storage.
1. The Garbage Disposal Challenge: Strategic Placement
The most significant physical hurdle in a small kitchen is the garbage disposal. Because it is mounted directly to the sink flange and occupies the center of the cabinet, it effectively splits your storage space in half. For homeowners looking at a 5-stage system, this "center-sink" obstruction often feels like a dealbreaker.
However, the solution depends on the architecture of the system you choose. When installing RO with garbage disposal units, you generally have two paths:
The Tankless Approach
Modern tankless RO systems are designed with a slim, "bookshelf" profile. These units are often only 5 to 6 inches wide, allowing them to slide easily into the narrow gap between the garbage disposal and the cabinet sidewall. If your priority is preserving floor space for trash bins or cleaning supplies, the tankless footprint is the most straightforward fit.
The Traditional Tank Solution
If you prefer a traditional system, such as a 5-stage RO with a pressurized tank, you have more flexibility than you might think. Because the storage tank is a separate component connected only by a tubing, it does not need to sit front-and-center.
-
Rear Placement: Most cabinets have unused depth. You can often slide the tank behind the garbage disposal or the drain p-trap, areas that are usually inaccessible for daily storage.
-
The Adjacent Cabinet Workaround: If your under-sink area is truly at capacity, you can run a longer line of tubing through the side of the cabinet. This allows you to house the tank in an adjacent cupboard or even a nearby pantry.
By decoupling the filters from the tank, installing RO with garbage disposal setups becomes a manageable task rather than a plumbing conflict. As long as the tubing is secured away from the disposal’s heat and vibration, either system can coexist perfectly with your existing plumbing.
2. Air Gap vs. Non-Air Gap
Once you have managed the space inside the cabinet, you must address the hardware on the sink rim. Many people encounter the technical term "Air Gap" and find it confusing or aesthetically unappealing.
What is an Air Gap?
An air gap is a physical separation in the drain line. It acts as a backflow preventer to ensure that if your sink clogs, dirty water cannot siphon back into your RO system. While functional, air gap faucets are often larger and may produce a noticeable "gurgling" noise during the water production cycle.
"Do I Need an Air Gap Faucet?"
This is the most frequent question from buyers concerned about a clean sink setup. "Do I need an air gap faucet?" The answer depends largely on your local plumbing codes. However, many homeowners find the noise and the requirement for a larger countertop hole (1.25 inches) to be a drawback.
The Workaround: A common, quieter alternative is using a standard (non-air gap) faucet paired with a separate drain line adapter or a check valve. This setup is much more compact and operates silently, making it a popular choice for modern kitchen designs, provided it meets your local health department's standards.
3. DIY or Call a Pro?
The fear of plumbing leaks often stops homeowners from purchasing a system. However, the reverse osmosis DIY installation difficulty is generally rated at a 4 out of 10. If you can use a power drill and follow a manual, you can likely complete the installation in under two hours.
The Scale of Difficulty
Most modern systems, like our 5-stage undersink unit, utilize "Quick-Connect" fittings. There is no soldering or complex pipe fitting involved. You are essentially "plugging in" color-coded tubes.
Tools Required for Success:
-
Power Drill: Necessary for the drain saddle and the faucet hole.
-
Adjustable Wrench: To connect the feed water adapter to your cold water line.
-
Tubing Cutter: To ensure clean, square cuts that prevent leaks.
"No-Drill" Options for Renters
If you are looking for a compact RO system for apartment living where you absolutely cannot drill into the countertop or pipes, countertop RO units are a viable alternative. However, for those who own their space, the under-sink installation is the gold standard for convenience and "out-of-sight" functionality.
4. Measuring for Success
Before you finalize your purchase, take a moment to confirm your RO system dimensions under sink.
-
Measure Vertical Clearance: Ensure you have enough height to unscrew the filter canisters for future maintenance (usually about 16–18 inches).
-
Check the "Swing Room": Ensure the cabinet doors can close fully without crimping the tubing.
-
Identify the Water Line: Confirm you have a standard 3/8" or 1/2" cold water shut-off valve available.
Properly installed RO systems are one of the most effective ways to reduce contaminants like lead, fluoride, and arsenic. Don't let a small cabinet space prevent you from securing your family's health.
Final Thoughts
Installing a Reverse Osmosis system in a small kitchen is not about having a large cabinet, it’s about smart organization. By understanding your RO system dimensions under sink and utilizing the flexible placement of the storage tank, you can overcome almost any "Under-Sink Tetris" challenge.
The reality is that installing RO with garbage disposal units is a standard procedure for professional installers and DIYers alike. With a few basic tools and a bit of planning, you can eliminate the need for bottled water forever.
Ready to reclaim your water quality? Don't let a crowded cabinet stop you. Our 5-stage undersink RO system is specifically designed to provide high-capacity filtration while maintaining a footprint that fits alongside even the largest garbage disposals.


