

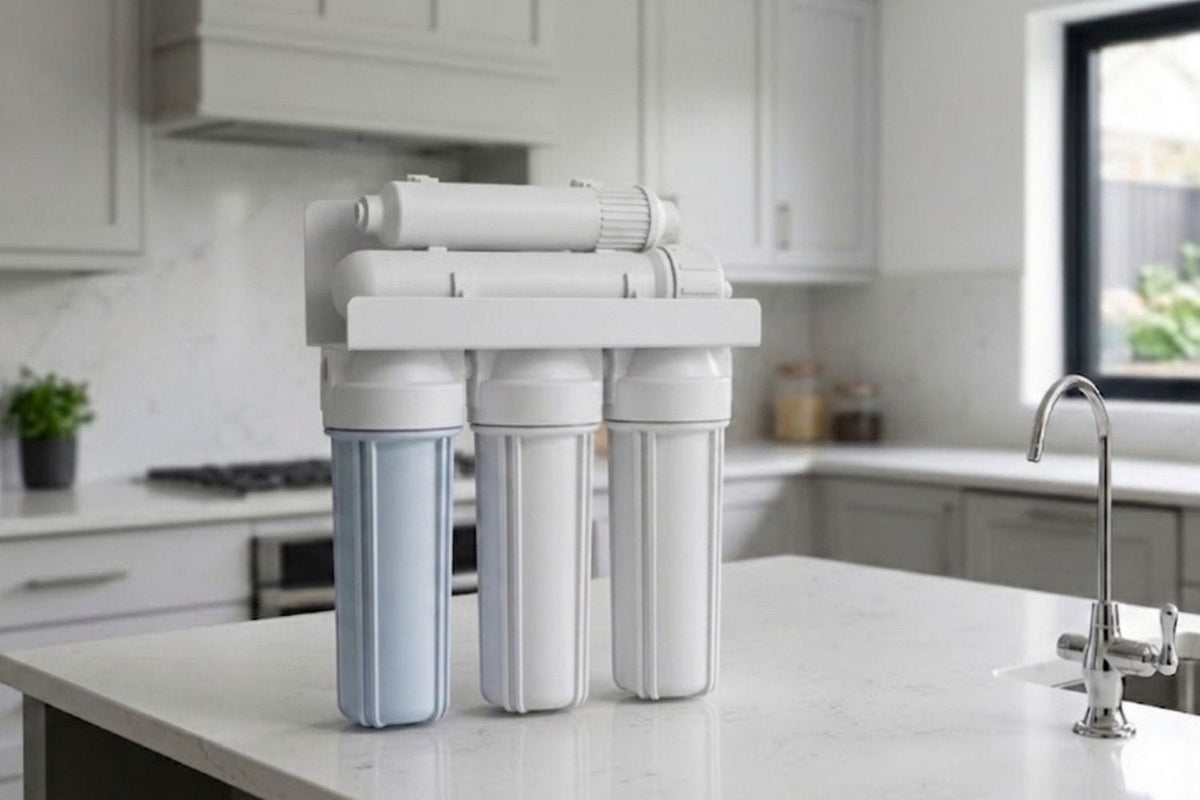
Replacing the filters in your reverse osmosis (RO) system should be a straightforward maintenance task. So it can be frustrating to turn the water back on, only to find a drip under the sink or water collecting around the system.
The good news? A leak after a filter replacement usually does not mean your entire RO system has failed. In many cases, the problem is related to something that was disturbed during maintenance such as an O-ring that is out of place, a filter housing that is not seated correctly, or tubing that needs to be pushed back into a fitting.
This guide will help you find the source of the leak and fix the most common problems safely.
Before You Start: Shut Off the Water
Before taking anything apart:
-
Turn off the feed water valve supplying water to the RO system.
-
Close the storage tank valve, if your system has a tank.
-
Open the RO faucet to release some remaining pressure.
-
Dry the system completely with a towel or paper towels.
Drying everything first is important. Once you turn the water back on, it will be much easier to see exactly where a new leak is coming from.
1. Check the O-Ring
If water is leaking from the top of a filter housing, start with the O-ring.
The O-ring creates the seal between the filter housing and the housing cap. During a filter change, it can become twisted, stretched, dirty, or pinched.
Remove the housing and inspect the O-ring. Make sure it is:
-
Sitting properly in its groove
-
Clean and free of sediment or debris
-
Not twisted or pinched
-
Free from visible cracks, flattening, or damage
Clean the O-ring groove as well. Even small particles can prevent the housing from sealing correctly.
If the O-ring is still in good condition, a small amount of silicone lubricant compatible with drinking-water applications and the O-ring material may help it seat smoothly. If it is cracked, stretched, or worn out, replace it.
2. Make Sure the Tubing Is Fully Seated
Leaks around tubing connections are another common issue after maintenance.
Many RO systems use push-to-connect fittings. If a tube was removed, bumped, or pulled slightly during the filter change, it may no longer be fully seated.
To check the connection:
-
Shut off the water and release pressure.
-
Remove the tubing according to the fitting manufacturer's instructions.
-
Inspect the tubing end for scratches, deformation, or an uneven cut.
-
Trim off the damaged section if necessary.
-
Use a proper tubing cutter to make a clean, square cut.
-
Push the tubing firmly and fully back into the fitting.
Avoid using ordinary scissors when possible, as they can deform plastic tubing.
3. Reinstall the Filter Housing Carefully
A filter housing can also leak if it is cross-threaded or installed unevenly.
When reinstalling the housing, make sure it is aligned straight before tightening. It should thread on smoothly. If you feel strong resistance immediately, stop, remove the housing, and start again rather than forcing it.
In general:
-
Tighten the housing by hand first.
-
Use the housing wrench only as needed for final tightening.
-
Do not use excessive force.
The O-ring creates the seal, so tighter is not always better. Over-tightening can make future maintenance difficult and may damage threads or place unnecessary stress on components.
Always follow the instructions for your specific RO system, since housing designs and tightening requirements can vary.
4. Inspect the Housing for Damage
If the O-ring and installation look correct but the leak continues, inspect the housing and nearby connections.
Look for:
-
Hairline cracks in the filter housing
-
Damaged or worn threads
-
Cracks around fittings or ports
-
Damaged tubing
-
Loose connectors
Plastic components can wear over time, and sometimes a crack or damaged thread only becomes noticeable after the housing has been removed and reinstalled.
Do not continue using the system if you find a cracked pressure-bearing component. Replace the damaged part with a compatible replacement before turning the water back on.
5. Check the Drain Line and Other Connections
The leak may not actually be coming from the filter you just replaced.
During maintenance, it is easy to accidentally bump the drain saddle, storage tank tubing, feed water connection, or other fittings.
Dry these areas completely, then restart the system slowly and watch for fresh moisture.
If the drain saddle is leaking, check that the clamp and gasket are properly aligned. Avoid over-tightening the clamp, as excessive force can damage some drain pipes or components.
Quick Leak Troubleshooting Guide
|
Leak Location |
Likely Cause |
What to Do |
|
Top of filter housing |
O-ring issue |
Clean and re-seat the O-ring or replace it if damaged |
|
Around tubing fitting |
Tubing not fully seated or damaged |
Inspect, re-cut if needed, and reinstall the tubing |
|
Housing threads |
Misalignment or improper tightening |
Remove and reinstall the housing straight |
|
Filter housing |
Crack or damaged threads |
Replace the damaged component |
|
Drain or other connection |
Connection disturbed during maintenance |
Check alignment and fittings |
How to Test Your RO System for Leaks
After fixing the suspected problem, restart the system gradually.
-
Keep the storage tank valve closed, if applicable.
-
Place dry paper towels beneath the system.
-
Slowly reopen the feed water valve.
-
Watch the filter housings and connections as water enters the system.
-
If everything stays dry, continue the normal startup procedure for your system.
-
Reopen the storage tank valve, if applicable.
-
Check again after the system has been running and pressure has had time to build.
Paper towels are useful for spotting slow leaks that may not be immediately visible.
Make Future Filter Changes Easier
A few simple habits can help prevent leaks during future maintenance:
-
Clean the O-ring and its groove before reinstalling the housing.
-
Inspect seals whenever you change filters.
-
Check tubing ends for damage.
-
Install filter housings straight.
-
Avoid excessive tightening.
-
Use replacement components designed to fit your specific system.
Compatible Replacement Filters Can Make Maintenance Simpler
Using the correct replacement parts helps reduce guesswork during routine maintenance. Filter dimensions, housing designs, and system configurations can vary, so it is important to choose filters and components that match your specific RO system.
For Filter United VIVA21 systems, we offer complete filter sets and pre-filter replacement sets designed for their corresponding system configurations. The goal is straightforward: make it easier to find compatible replacement components when it is time for routine maintenance.
Before ordering, always check your system model and configuration to make sure you are selecting the correct replacement set.
Frequently Asked Questions
Should I use Teflon tape on RO filter housing threads?
Usually, no. Most standard filter housings use an O-ring to create the water seal rather than the threads themselves. Unless your manufacturer specifically recommends thread seal tape for a particular connection, do not add it to the filter housing threads.
How often should I replace RO system O-rings?
Inspect O-rings during regular filter changes and replace them if they are cracked, flattened, stretched, or no longer sealing properly. Your system manufacturer may also provide specific maintenance recommendations.
Is it normal for an RO system to make noise after changing filters?
Yes. Some sputtering, gurgling, or bubbling can be normal after a filter change as trapped air moves through the system. The sound should decrease as the system returns to normal operation.
Final Thoughts
Most RO leaks after a filter replacement are caused by a small installation issue rather than a major system failure. Start with the O-rings, filter housing alignment, and tubing connections, then inspect other parts that may have been bumped during maintenance.
Turn the water back on slowly and check the system as pressure builds. Taking a few extra minutes to inspect the installation can help you catch a small leak before it becomes a bigger problem.


