

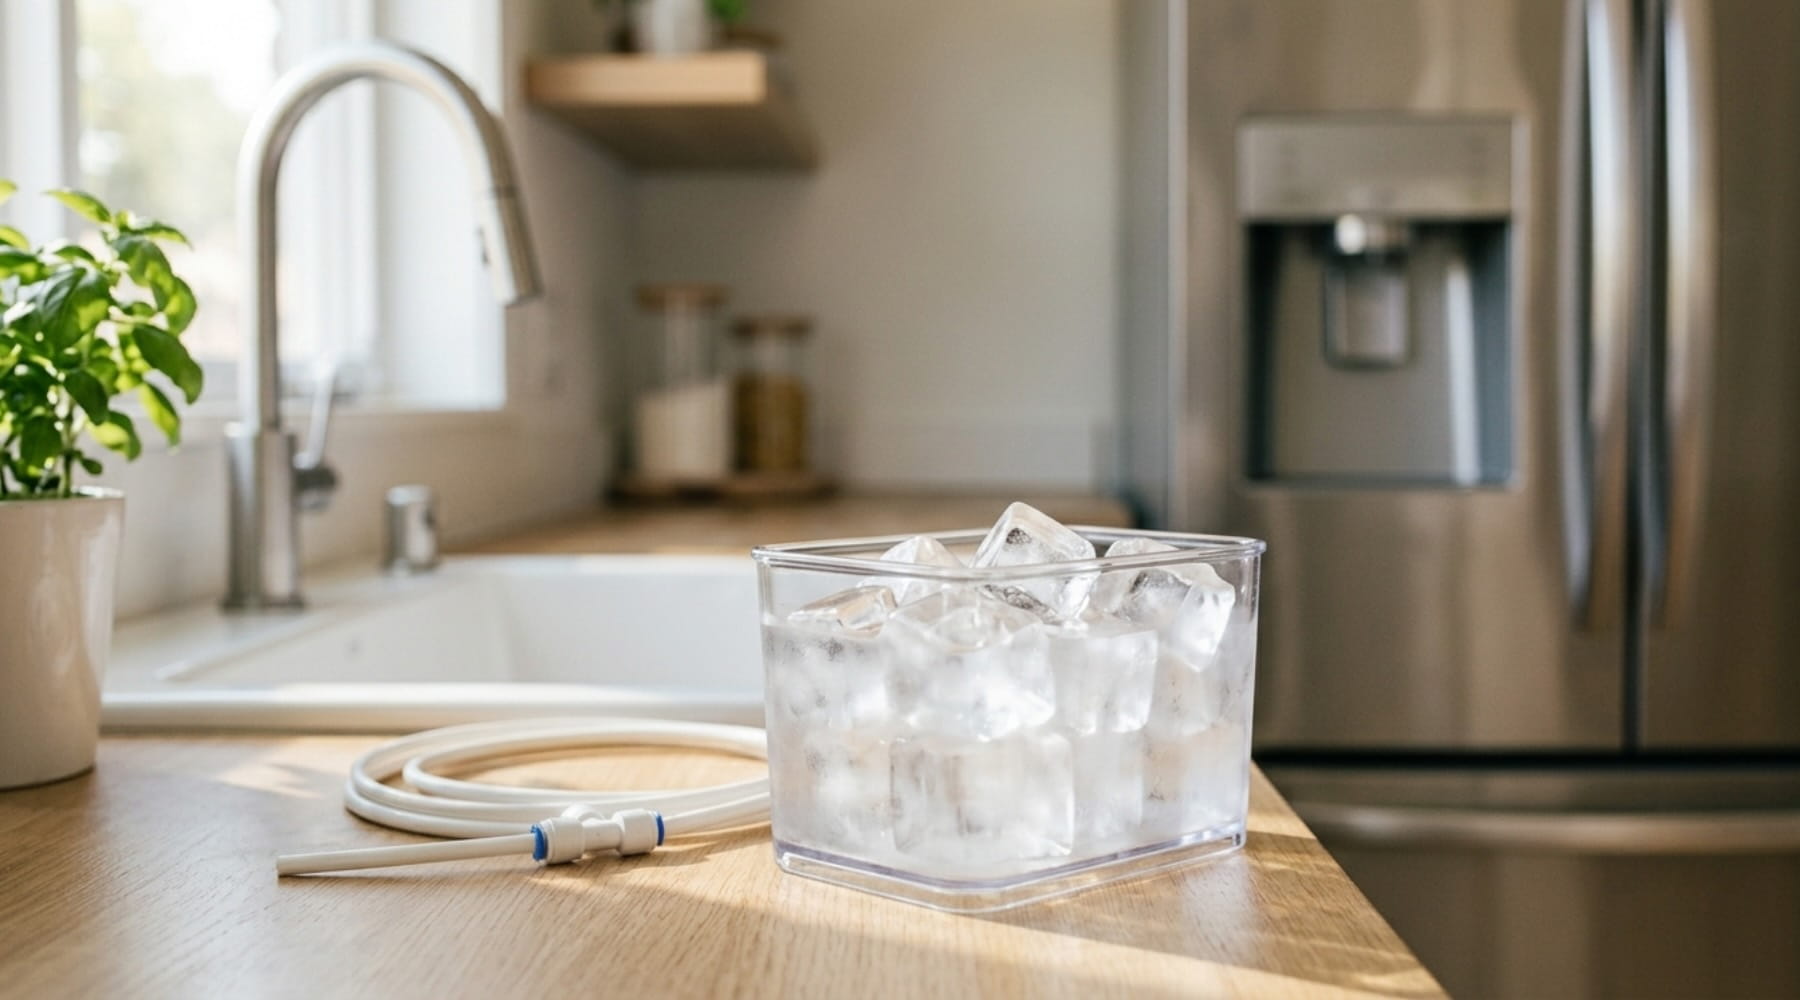
Having a Reverse Osmosis (RO) water filtration system under your kitchen sink ensures that your drinking water is incredibly pure. But why stop there? If your smart refrigerator has a built-in water dispenser and ice maker, you can hook your RO system up to it. Imagine crystal-clear, contaminant-free ice cubes and chilled, refreshing RO water right from your fridge door.
If you are looking to buy the best under-sink RO water filter or have already invested in a high-efficiency RO system, connecting it to your refrigerator is one of the best DIY upgrades you can make.
In this comprehensive guide, we will walk you through exactly how to connect an under-sink RO system to a refrigerator, what parts you need, and how using a dedicated RO ice maker kit makes the entire installation foolproof.
Why Connect Your RO System to Your Fridge?
Most smart refrigerators come with a standard inline carbon filter. While these are decent at improving taste and reducing chlorine, they cannot compete with the multi-stage purification of a premium RO water filtration system. By bypassing or supplementing your fridge filter with RO water, you get:
-
Crystal-Clear Ice: Removes the minerals and TDS (Total Dissolved Solids) that cause cloudy, soft ice cubes.
-
Better Tasting Beverages: Pure water elevates the flavor of your coffee, tea, and everyday drinks.
-
Cost Savings: No more buying expensive, proprietary refrigerator filter replacements every six months.
Tools and Parts You Need: Why an All-in-One Ice Maker Kit is Best
Instead of wandering down the plumbing aisle trying to piece together random adapters, hoses, and valves, the smartest approach is to use a dedicated Reverse Osmosis Ice Maker Connection Kit.
A professional-grade RO ice maker kit includes everything required for a leak-free setup:
-
Food-Grade Polyethylene Tubing: High-pressure rated hose to connect the RO system output to the refrigerator inlet.
-
Quick-Connect Tee Fitting: Splits the purified water line safely between your dedicated RO kitchen faucet and the fridge.
-
Inline Shut-off Valve: Allows you to cut water to the fridge independently for maintenance or filter changes without shutting down your main sink water.
Step-by-Step Installation Guide
Connecting your system is a straightforward DIY project that typically takes less than 30 minutes.
Step 1: Turn Off the Water Supply
Safety first. Locate the cold water shut-off valve under your sink and turn it off completely. Turn on your RO faucet to drain any remaining water and relieve pressure in the lines. If your RO system uses a pressurized storage tank, close the tank valve as well.
Step 2: Locate and Cut the RO Output Line
Find the tubing that runs from the final stage of your under-sink RO system up to your countertop RO faucet. Use a sharp tube cutter (or utility knife) to make a clean, perfectly square cut. A straight cut is essential to ensure the quick-connect fittings seal properly without leaking.
Step 3: Install the Quick-Connect Tee Fitting
Take the Quick-Connect Tee Fitting from your ice maker kit. Insert the two cut ends of your RO faucet line firmly into opposite sides of the tee. Push the tubing in until it bottoms out (usually about half an inch). You now have one open port on the tee, which will route pure water to your refrigerator.
Step 4: Run the Tubing to the Refrigerator
Connect one end of your new polyethylene tubing into the remaining port on the tee. Route the tubing through your kitchen cabinets, behind the oven, or under the floorboards to the back of the refrigerator.
-
Pro Tip: Leave a few extra feet of coiled tubing behind the fridge. This provides enough slack so you can pull the refrigerator out for cleaning or maintenance without straining the water line.
Step 5: Install the Inline Shut-Off Valve
Cut the tubing near the back of the refrigerator (or under the sink for easy access) and install the inline shut-off valve included in your kit. This gives you peace of mind, allowing you to isolate the fridge line instantly if needed.
Step 6: Connect to the Refrigerator Inlet Valve
Pull out your refrigerator and locate the water inlet valve near the bottom back corner. Remove the existing copper or braided stainless steel home water line. Connect your new RO water line using the quick-connect or compression adapters provided in your RO ice maker installation kit.
Testing and Flushing the System
-
Double-check all connection points to ensure the tubing is fully pushed into the fittings.
-
Turn the cold water supply valve back on under the sink.
-
Open your RO tank valve (if applicable).
-
Inspect every joint under the sink and behind the refrigerator carefully for any slow drips.
-
Flush the lines: Dispense about 1–2 gallons of water from the refrigerator door dispenser to flush out any trapped air or loose carbon fines. Discard the first two batches of ice cubes made by the machine.
Get the Perfect Connection with Our Premium Kits
Ready to upgrade your kitchen's hydration experience? Don't risk low-quality fittings that can cause catastrophic leaks.
Get the job done right the first time with our RO Refrigerator Ice Maker Kit. Specially designed with high-burst-pressure food-grade tubing and leak-proof quick-connect fittings, our kit ensures your smart fridge gets a flawless, high-pressure stream of pure water.
Pair it with our top-rated VIVA21 Under-Sink Reverse Osmosis Systems for the ultimate home water purification setup. Enjoy cafe-quality ice and pristine drinking water right at your fingertips.
FAQ: Frequently Asked Questions
Q1: Will RO water damage my refrigerator's internal copper lines?
Pure RO water is highly purified and can slightly leach minerals from copper pipes over decades. However, almost all modern smart refrigerators built in recent years use PEX, polyethylene, or plastic internal lines, which are completely safe, durable, and immune to RO water.
Q2: How often do I need to replace filters after this setup?
Your under-sink RO system does 99% of the heavy lifting. You only need to replace your RO pre-filters (every 6–12 months) and the RO membrane (every 2 years) according to the manufacturer's manual. Your internal fridge filter can be bypassed and forgotten, saving you money annually.
Q3: Can I use the sink RO faucet and the fridge dispenser at the same time?
Yes. The quick-connect tee splits the water line to allow simultaneous use. You might experience a slight, temporary drop in water pressure if both are running at the exact same second, but it will not affect the performance of either system.


