

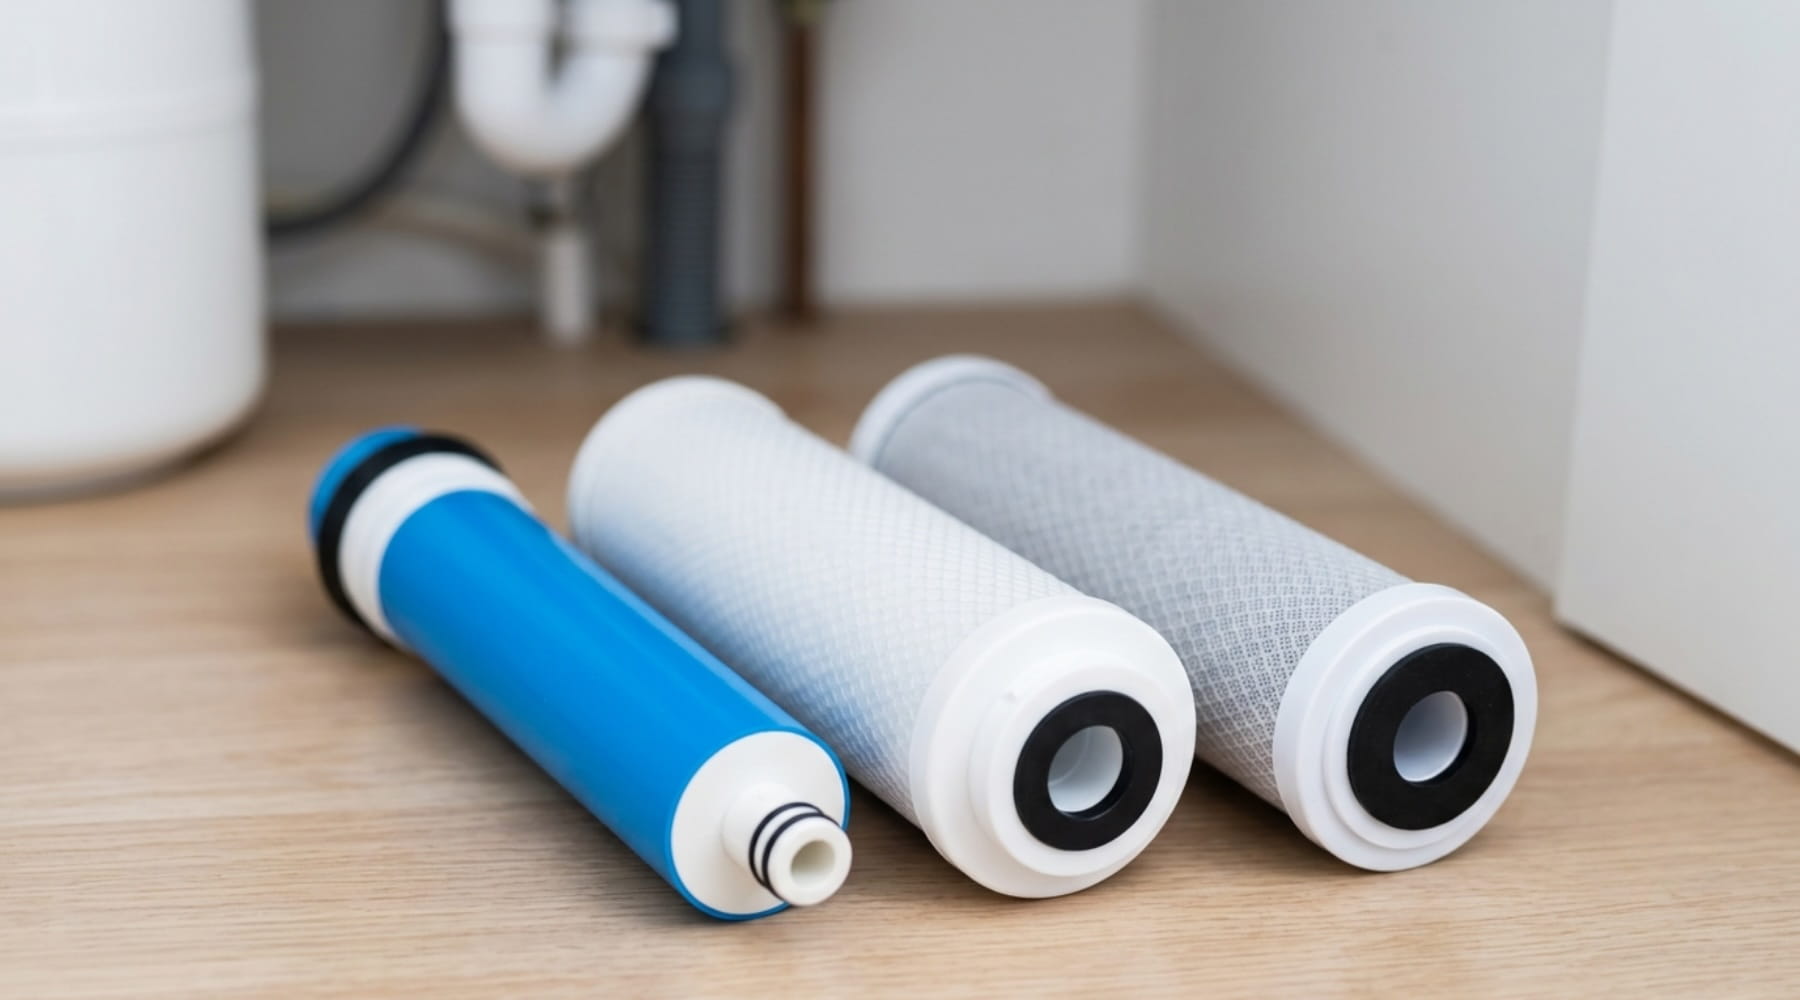
A reverse osmosis (RO) system is one of the most effective solutions for delivering bottled-quality drinking water directly from your tap. High-efficiency RO membranes can reduce up to 99% of total dissolved solids (TDS), including heavy metals, PFAS, microplastics, and chloramines.
However, even the most advanced systems require routine maintenance. Over time, harmless bacteria can form a subtle biofilm inside filter housings and storage bladders. Sanitizing your system during your annual filter swap eliminates lingering contaminants, prevents unpleasant odors, and preserves the peak efficiency of your setup.
Here is a step-by-step guide on how to sanitize your reverse osmosis system safely and effectively.
Why Is Sanitizing Your RO System Essential?
While primary pre-filters trap sediment and chlorine, standing water inside housing sumps and pressure tanks creates a dark, moist environment. Without annual sanitization:
-
Biofilm Accumulation: Microscopic bacterial films can develop on housing walls, potentially reducing system flow and shortening membrane lifespan.
-
Taste and Odor Shifts: Stagnant water in an un-sanitized storage tank can lead to a slight earthy or metallic aftertaste.
-
Reduced Filtration Efficiency: Accumulated debris inside housing sumps prevents fresh replacement filters from fitting snugly or sealing correctly.
Industry maintenance standard recommends sanitizing private water filtration units at least once a year, ideally synchronized with your annual filter replacement routine.
Tools and Supplies You Will Need
Before starting, gather the following essential tools and replacement components:
-
Unscented Household Bleach
-
Filter Housing Wrench
-
Replacement Filter Sets
-
Bucket and Clean Microfiber Cloths
-
TDS Meter (optional, to verify output purity post-sanitization).
Pro Tip: Never use scented bleach, dish soap, or abrasive chemical cleaners. Harsh chemicals can permanently damage internal synthetic seals and RO membrane pores.
Step-by-Step Guide: Sanitizing Your RO System
Step 1: Prep and Depressurize the System
Turn off the main cold water supply valve feeding your RO system. Close the shut-off valve on top of the RO storage tank. Open your dedicated RO kitchen faucet to drain all remaining pressure and water until the stream completely stops.
Step 2: Remove Old Filter Cartridges
Place a shallow bucket under the filter sumps to catch drips. Using your housing wrench, loosen and unscrew the pre-filter housings (Stage 1 Sediment, Stage 2 Carbon Block, Stage 3 Carbon Block). Remove and discard the old cartridges.
Step 3: Clean and Sanitize the Housings
Wash the inside of each housing sump with warm water and mild liquid dish soap, rinsing thoroughly. Once rinsed, pour 2 to 3 tablespoons of unscented household bleach directly into the first pre-filter housing sump.
Screw all empty housings back onto the manifold unit without inserting any new filter cartridges inside.
Step 4: Sanitize the Storage Tank & Lines
Turn the cold water supply back on and open the storage tank valve, allowing the bleach-water solution to fill the empty housings and flow directly into the storage tank. Once full, close the dedicated faucet.
Allow the sanitizing solution to sit inside the system lines and tank for 30 to 45 minutes to thoroughly eradicate internal microbial growth.
Step 5: Flush the System Thoroughly
Turn off the main water supply again. Open the RO kitchen faucet completely to drain the bleach solution from the storage tank into the sink drain. Flush until you no longer smell any chlorine trace in the escaping water.
Step 6: Install New Filters and Membrane
Depressurize the unit one final time. Unwrap your fresh filter set. Inspect the rubber O-rings on each housing sump; lubricate them with a thin layer of food-grade silicone grease to guarantee a watertight seal. Insert the fresh filter cartridges into their respective stages and tighten securely with the housing wrench. Reconnect your RO membrane housing.
Step 7: Final Flush and Quality Check
Turn on the main cold water inlet and check all fittings for micro-leaks. Allow the storage tank to fill completely (typically takes 1 to 2 hours), then drain the entire tank once more through the faucet. Refill a second time, and your RO system is now fully sanitized, purged, and ready to deliver ultra-pure water.
Keep Your Drinking Water Pure Year-Round
Sanitizing your under-sink reverse osmosis unit once a year is a simple DIY process that protects both your family's health and your investment. By taking 45 minutes during your annual filter change to flush the system housings, you guarantee crisp, clean, and crystal-clear water with every pour.
Looking for original, factory-direct replacement cartridges? Explore FilterUnited's lineup of high-efficiency filtration solutions.


